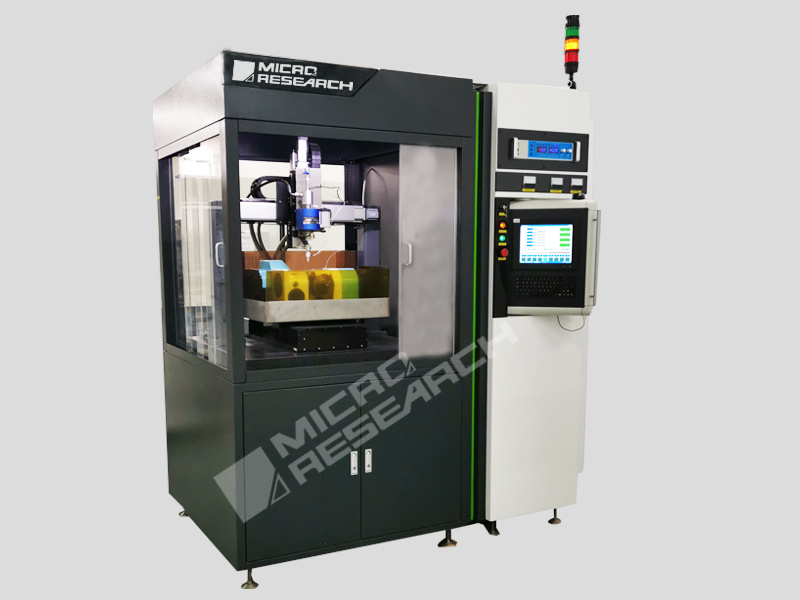
The precision control and assurance of electrical discharge machining largely depend on positioning accuracy.
Release time:
2021-07-12
Electrical discharge machining (EDM) is an important process method in mold manufacturing, especially playing a crucial role in the production of injection molds. Currently, many mold companies still have insufficient process levels, and some misconceptions in the process often lead to the EDM of mold parts not meeting the required precision and efficiency.

Electrical discharge machining (EDM) is an important process method in mold manufacturing, especially playing a crucial role in the production of injection molds. Currently, many mold companies still have incomplete process levels, and some misconceptions in the process often lead to the EDM of mold parts not meeting the required precision and efficiency.
The precision control and assurance of electrical discharge machining largely depend on positioning accuracy. In the commonly used Z-axis machining, the X and Y axes ensure the cavity position requirements, while the Z-axis ensures the depth requirements of the machined cavity. There are various methods to achieve positioning for EDM, with the method of using electrodes to contact the workpiece for sensing being widely adopted in mold companies.
This positioning method is relatively simple and very familiar to operators. However, we can find that if the precision requirements for EDM are very high, the positioning error must not exceed 0.01 mm. For machining situations such as the sliders of plastic molds, the alignment of upper and lower mold cores, and insertion points, using the aforementioned method will be quite challenging, making it difficult to ensure stable positioning accuracy. This often leads to repeated repairs or scrapping of parts due to excessive positioning errors. Operators frequently complain about the poor sensing performance of the machine tool or low positioning accuracy. In fact, the current EDM machines have quite high precision in terms of displacement, and the occurrence of inaccurate positioning is due to misconceptions in the chosen positioning method. Directly contacting the electrode with the workpiece can lead to significant difficulties in achieving 0.01 mm positioning accuracy due to the large contact area, burrs on the electrode or workpiece, and factors such as flatness, parallelism, and perpendicularity of the electrode and workpiece. Even if the workpiece and electrode are very clean, it is still difficult to guarantee 0.01 mm positioning accuracy. For irregular workpieces (electrodes) or when the electrode is too large (or too small) and the precision requirements are quite high, only indirect positioning methods should be used, specifically using a reference sphere for indirect positioning. This method, due to point contact, can eliminate errors to the maximum extent.
Currently, many mold companies are still unaware of the method of using reference spheres for positioning. Using reference spheres for positioning not only easily ensures precision but also allows for convenient centering in cases of complex workpiece shapes. The process of the electrode finding the center of the reference sphere prevents the electrode from moving over a large stroke, saving operating time. In situations where multiple workpieces are being machined, there is no need to repeatedly center the electrode; centering the reference sphere once is sufficient, saving a significant amount of operating time, especially advantageous in multi-electrode machining. Of course, this is not to overly emphasize the advantages of using the reference sphere positioning method; for machining with ordinary precision requirements, a small number of workpieces, and not many electrodes, it is usually still more efficient to use the electrode for direct positioning. Additionally, using the reference sphere positioning method requires high precision of the reference surfaces of the electrode and workpiece; otherwise, it may lead to greater positioning errors.
Related News


